Violin, Viola, and Cello Sizing
One of the most eagerly anticipated changes that growing students look forward to is changing sizes in their instrument. While the current instrument is regarded as an “old friend,” the rewards of fuller and more dynamic sound will usually serve to overcome the feeling of loss. With violin and viola sizing, the teaching community falls into two schools of thought. These two methods apply to both the violin and the viola.
Violin and Viola

Violin Sizing – Method 1
Place the violin under the chin as though ready to play. Lay the violin along the fully extended arm (no bend at the elbow). The top of the scroll should fall evenly with the second line below the palm. By this method, teachers can reasonably expect their students to handle any position shift and fingering. This is the safest approach to sizing as there’s a much lower likelihood of being injured or experiencing discomfort.
Violin Sizing – Method 2
This method seems to be preferred by the teaching community. The primary determining factors are comfort and playability, and there is more flexibility with the determination of sizes. For sizing by this method, have the student hold the violin in playing-position, then wrap the hand over the scroll until it sits comfortably in the middle of the palm. The student should be able to bend their elbow at a comfortable 45-degree angle. Also, note the bottom corner of the instrument should not protrude past the end of the shoulder.
Moving to the next size…
Have the player play a one-octave scale on the middle two strings (D-major on the violin, G-major on the viola) using open strings ascending and the fourth finger descending. On a larger instrument, the stretch from the first finger down to the fourth should not cause strain.
 Cello
Cello
While the differences in the size standards for violins are fairly small, for cellos, the same “size” (e.g., 1/4) may vary as much as 1.5 inches depending on the brand and country of origin. The size categories descend from full-size by roughly 2-inch increments by measuring the body length of the cello (not including the neck button).
Cello Sizing:
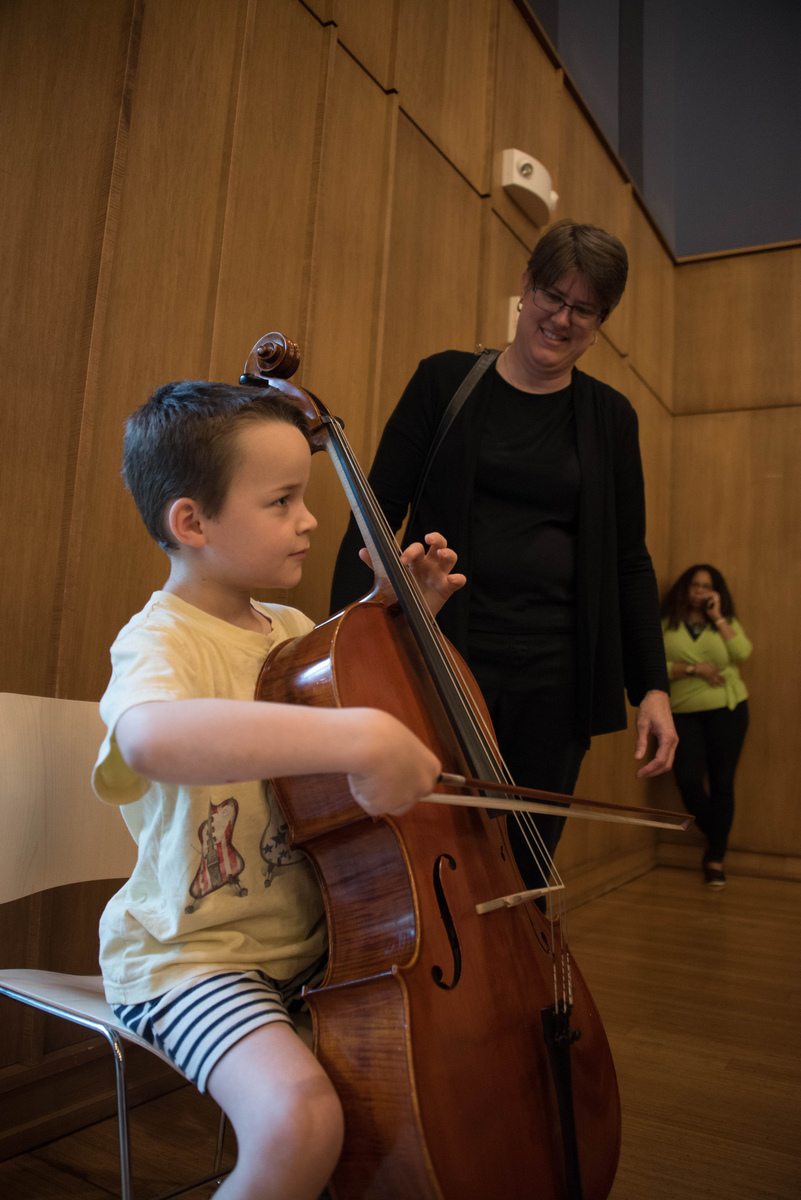
Have the student sit on the front of the chair with feet flat on the floor and thighs parallel to the floor. Extend the endpin until the shoulder of the cello reaches a point over the heart when the player is sitting upright. The cello should fit between their knees at the curve below the bottom corners. Finally, when the bow is pulled across the strings to the tip, it should be comfortable to keep the stick fully level and parallel with the floor.
At Potter Violins we are always glad to give our opinion on the proper sizing of your student. Each child is sized by our rental team with each new rental to ensure the optimum fit. If you are unfamiliar with our rentals, we have plans to fit every budget and offer a generous rental credit allowance for purchasing.

