Introducing the Potter 12-Point Setup
Thanks to your support and our staff’s dedication and expertise, we are honored to be celebrating our 25th anniversary! We’ve seen our fair share of instruments and learned a lot along the way about how to improve sound. One of the key factors in improving sound is setup. We have set up more than 31,000 violins, violas, and cellos—that’s a lot of bridges! We’ve been doing this for so long that it’s become second nature to check every fine point of the instrument before it’s ready to play.
As the years went on, we realized there are twelve basic points we check when setting up an instrument. If even one of them isn’t correct, we’ll fix it before letting it leave the workshop. Follow along as we explore—and obsess over—the care and detail that goes into each instrument that leaves our shop.
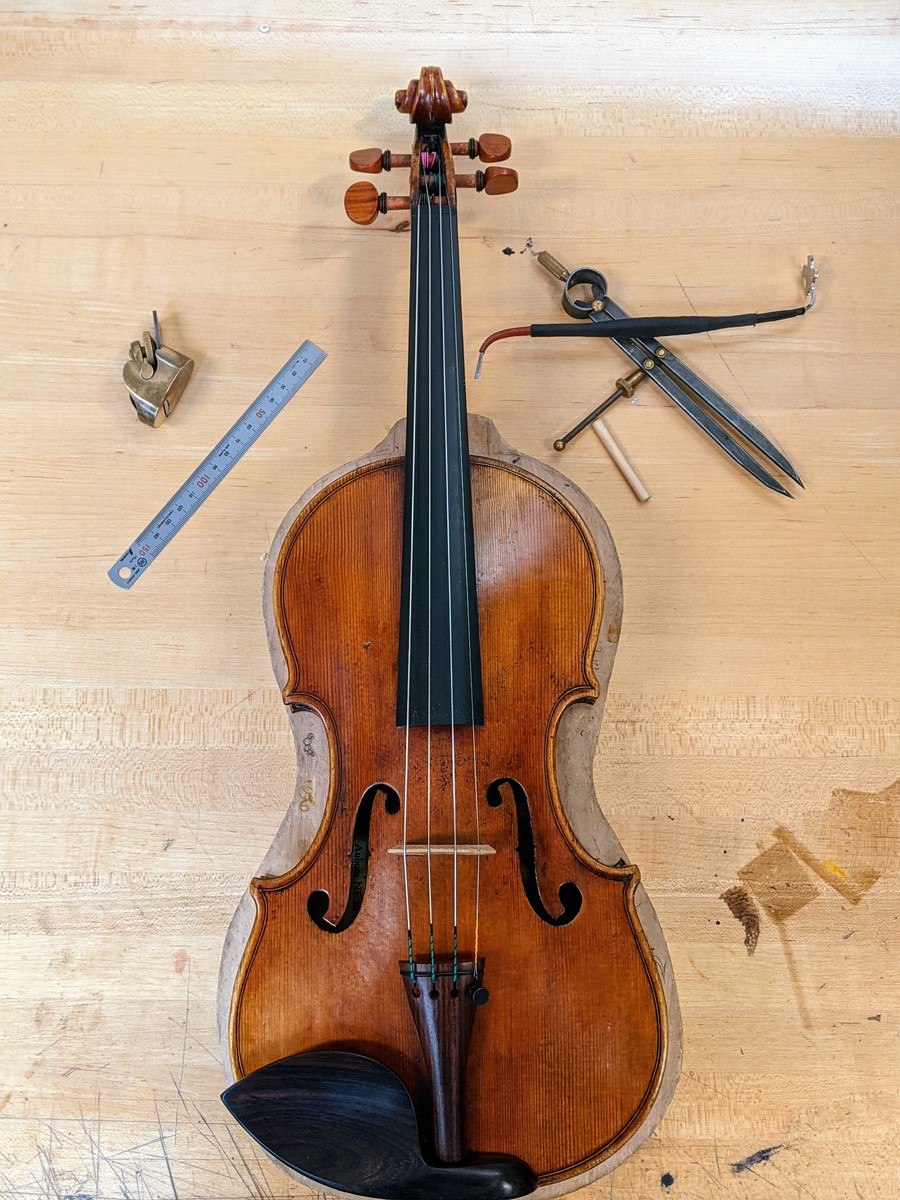
The first thing you might ask is, “What is a setup?”
Once the body of a violin is made, meaning the top, back, ribs and neck are assembled, it needs a “setup.” Setup parts include the tailpiece, bridge, nut, soundpost, pegs and tuners, strings, and chinrest. An easy way to think about the setup is that it includes anything removable. All of these must fit correctly and be positioned in the right place to allow open resonance throughout the instrument. And, of course, make the player comfortable.
Sometimes a setup can also involve examining the angle of the neck, or the size, shape, and location of the bassbar (What is a bassbar?). Changing these could be necessary for the health or sound of the instrument, but involves a more complex process than simply swapping out one tailpiece for another. That said, our goal is to achieve the best sound with the least amount of changes to the instrument.
1. Not All Bridges are Created Equal
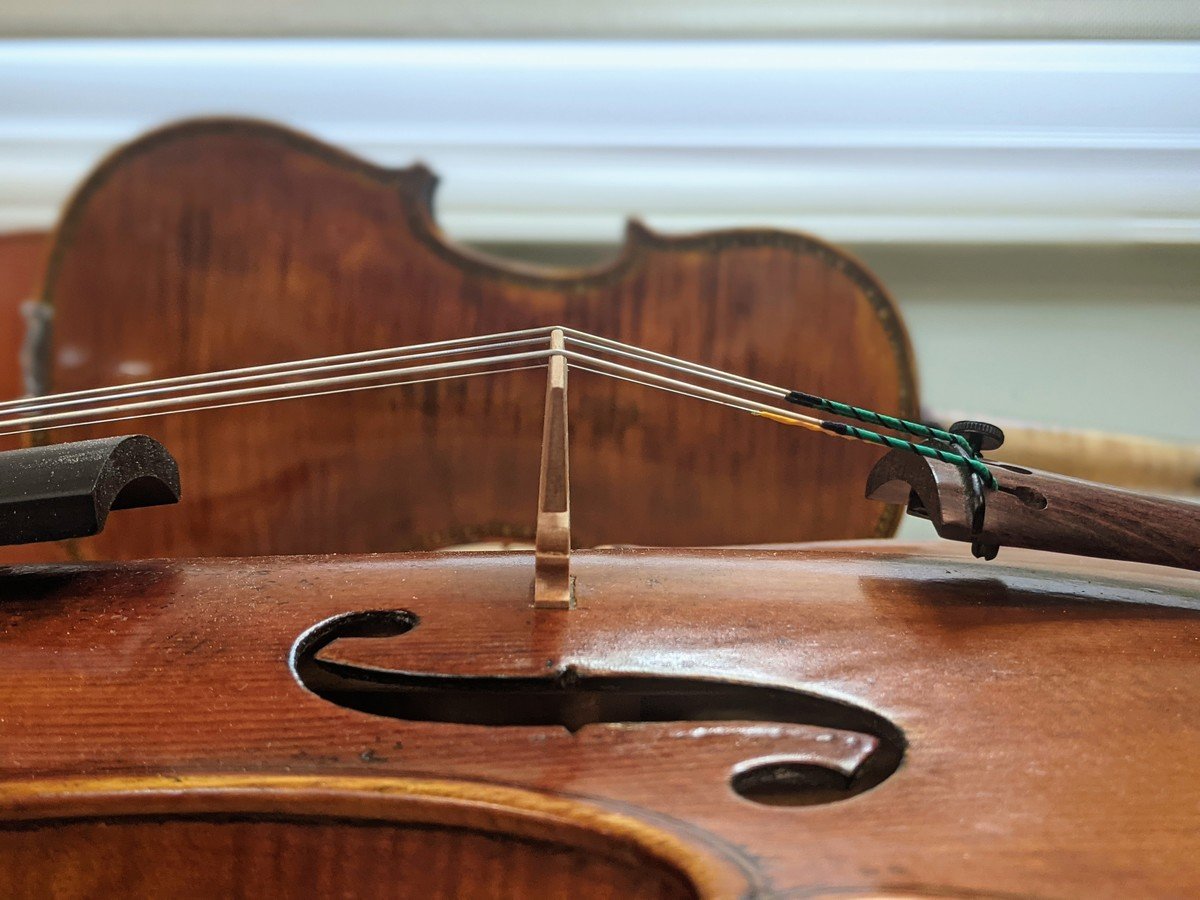
Many think that any bridge can go on any instrument, but that couldn’t be further from the truth. The bridge carries the resonance—and therefore sound—from the strings into the body of the instrument. On a professional bridge we take high-quality blanks (bridges not yet cut to fit a specific instrument) and shape them to optimize tone and projection. We cut the bridge feet perfectly to the top of the instrument for maximum resonance. The bridge height must align with the fingerboard so players can push down on the strings with ease. And importantly, the thickness and quality of the wood must be optimal to hold all the tension of the strings while still resonating.
2. Your Primary Touchpoints: the Neck and Fingerboard
You work hard to play the right notes at the right time, so we want to make sure the neck and fingerboard are perfect.
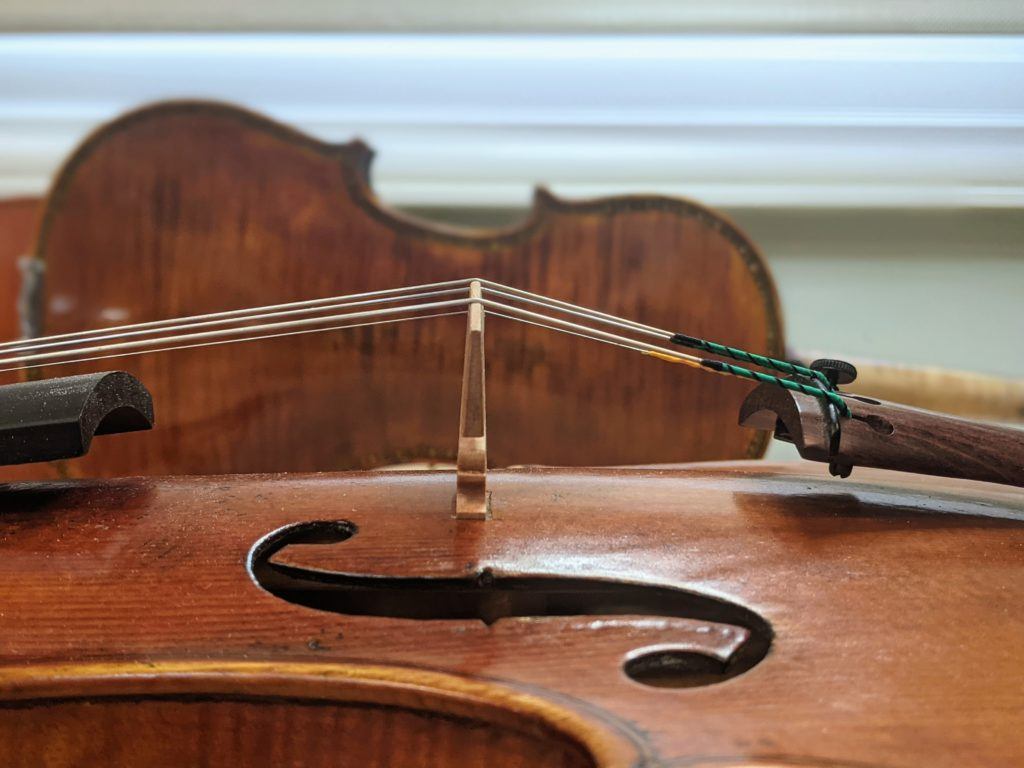
What’s so important about this? If the strings are too high, you have to work harder to push them down so a note will speak. If they are too low, you risk too much interference by accidentally pushing down the string at the wrong time. We plane the fingerboard to make it smooth and in line with the bridge’s curve to ensure the best height. This allows you push the strings down only lightly and not down too far to play.
We also ensure the angle of the fingerboard is just right as it’s normal for it to drop over time. We sometimes encounter an instrument with a low neck with a lowered bridge to compensate for the string height. In this scenario, you risk scraping the bow against the c-bouts and damaging the wood. Plus, the string length—which affects your sound—won’t be correct because a bridge that’s too low will reduce string length and tension.
3. The Pegs: More Than Just Intonation
The first thing you most likely do when you take your instrument out of its case is tune it. Your pegs are important not only for this basic function, but also for the structural integrity of the pegbox and scroll. The scroll and pegbox affects the sound of your instrument. The pegs “move” more than most other parts, so they must fit exactly and turn as needed.
4. We’re Nuts About the Nut
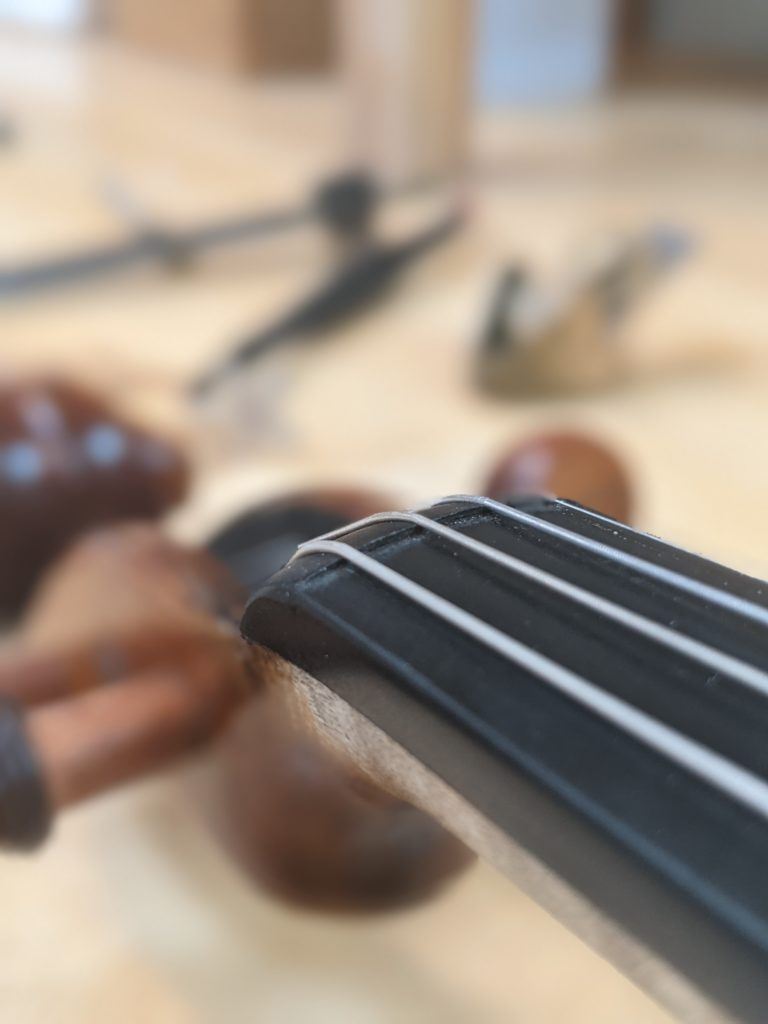
At the other end of your fingerboard, right before the pegbox, is the nut. The nut is a small bridge of Ebony that keeps your strings elevated. This piece of wood is paramount to how you experience playing your instrument, so we work hard to make sure it’s just right. We shape string grooves into the nut to keep the strings in place wile allowing them to vibrate freely.
5. The Soundpost
The soundpost is one of the most temperamental parts of an instrument, so it’s important for it to fit just right. The soundpost is a wooden dowel that rests snugly between the top and backplate of your instrument. Its purpose is to transfer the vibrations down from the top to the back of the instrument. With more vibration comes more interesting tonal qualities. A soundpost can get out of place if you drop your case, for example. It can also move slightly when you change your strings, or even when the weather changes. We use the finest spruce to maximize resonance in addition to a perfect for to ensure as little movement as possible.
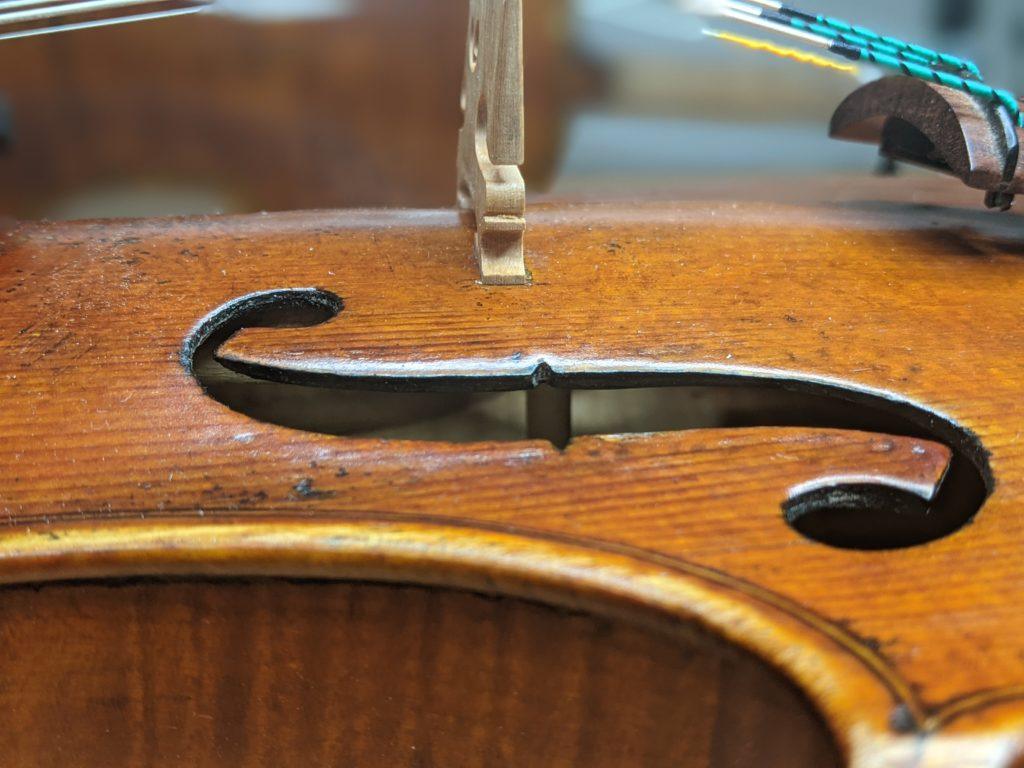
6. The Tailpiece: Not Just for Looks
Tailpieces can be beautiful, but they also serve an important purpose. Their shape and weight are key factors in how they resonate with the string. We size the length of the tailgut to each instrument, which helps determine the afterlength. The afterlength is the distance on the string between the bridge and the tailpiece. This determines things like overtones and the dreaded wolf tones. Each instrument is unique, and even a millimeter can make a difference in the sound.
7. Fine Tuners: Just Fine is Not Good Enough For Us
Fine tuners, like the pegs, are some of the more mechanical parts of your instrument, so they must be working well at all times. We use tailpieces that have fine tuners build in for many of our student instruments, including some of our fine instruments.
8. Strings: Larsen, Dominant, and Pirastro. Oh my!
Every instrument is unique and responds differently to different types of strings. There are many brands out there and we have tried them all throughout the years. As we set up instruments, we use this experience to guide us in picking string brands. Sometimes that means using all four strings of the same brand or combining brands to balance a certain part of the instrument. Tension, color, volume, and finger resistance all come into play when determining this part of the setup.
9. Chinrest: Comfort and Performance in One
The chinrest, like the fingerboard, is a high-contact touchpoint of your instrument, so it must be comfortable and stable. We use hardwood chinrests for setups because the wood ensures greater acoustic properties. Because chinrests put pressure on the soundbox, they should be installed professionally to not damage the instrument or restrict resonance.
10. Cracks and Open Seams
The construction of an instrument is delicate, so we carefully examine every instrument’s condition. Too much pressure or force placed upon the wooden plates of an instrument can cause cracks. This pressure could come from something severe like dropping an instrument or something subtle like two pieces expanding or contracting due to temperature changes. Related to cracks, we may find open seams along the ribs (ribs are glued to the top and back). These open seams can cause buzzing but are easy to correct and not nearly as worrisome as a crack. When we close seams, we use a gentle glue that allows them to open up under duress, instead of breaking apart causing the nearby wood to crack.
11. Looking as Good as it Sounds
Your instrument should be nice to look at as well as listen to. And believe it or not, those two characteristics are related. We clean each instrument of any dust or dirt that could be restricting sound vibration. We don’t polish every instrument (there are reasons to avoid over-polishing), but when we do we apply it evenly for resonance and beauty.
12. Sound Adjustments
The last part of our process is to play the instruments to hear how they sound. We involve multiple staff members in this process to make sure we’re all hearing the same things. Sometimes an instrument needs the bridge moved just slightly to resonate more with the bassbar inside. Other times the soundpost needs a delicate tap so it can vibrate more sympathetically with the bridge. Each player looks for something different in their instrument, and a small shift of the soundpost can give extra power on the lower end or clarity on the higher end. For us, it’s all about helping you find the balance of timbre and overtones. We do all this to ensure every instrument is ready to help you make beautiful music.
About Potter Violins’ Workshop
Our team of professional luthiers perform violin, viola, cello, bass, bow, and period instrument repair and restoration to exacting standards using time-tested techniques. Our luthiers are trusted with repair and restorations of historic and significant instruments by international artists and professionals from around the country. Learn more about our workshop here or call us at 301-652-7070 to discuss how we can assist in finding you the perfect violin, viola, or cello.
